
The Short Answer: Fix These 6 Settings Before You Tune Sensitivity
If your aim feels different every session no matter how carefully you set your sens, the problem is often not the number itself but the settings sitting underneath it.
Here is the recommended setup in one line: turn off Enhance pointer precision, leave Windows pointer speed at the middle notch, let the game read raw input, switch off any acceleration or angle snapping in your mouse software, set lift off distance as low as your pad allows, and lock DPI to one value.
The goal is consistency. The same hand movement should produce the same on screen distance on your desktop, in game menus and in an actual match, so the sensitivity you dial in on an aim trainer carries straight into ranked.
- Enhance pointer precision in Windows: off.
- Windows pointer speed: leave it in the middle (default) and change speed only with DPI and in game sensitivity.
- Game input: confirm the game uses raw input, and turn off any acceleration option in its menu.
- Mouse software: turn off mouse side acceleration such as Razer Dynamic Sensitivity, plus angle snapping if your app has it.
- Lift off distance (LOD): start at the lowest value on your pad and raise it one step only if tracking drops.
- DPI: set every stage to the same value so a stray button press cannot change it.
What Enhance Pointer Precision Actually Does: Windows Mouse Acceleration
Enhance pointer precision is the mouse acceleration built into Windows. Microsoft describes it as a way to make the pointer more precise when you move the mouse slowly. Put another way, the same physical swipe moves the cursor a different distance depending on how fast you make it.
That is handy for spreadsheets and browsing, but it works against FPS aim, where you build muscle memory by repeating the same distance with the same motion. It tends to be on by default, so if you have never opened this menu, assume it is enabled and check.
It helps to know exactly what turning it off changes. According to Microsoft developer documentation, Windows acceleration is applied on the normal cursor message path, and it is not applied when a game reads the mouse through raw input (WM_INPUT).
Riot has stated that VALORANT has used raw input since launch. In other words, your in game camera rotation in a raw input title is not affected by this toggle.
The reason to turn it off anyway is everything else: the desktop, game menus and lobby cursors, games that do not use raw input, and browser aim trainers where the raw input request is denied. A mouse maker's official FAQ also suggests switching it off for better accuracy. You will notice the difference most when you measure sensitivity on the web, for example with our browser sensitivity test.
Windows Settings: Turn Off Enhance Pointer Precision and Center Pointer Speed
- 1Open the Mouse page in SettingsOn Windows 11, go to Start > Settings > Bluetooth & devices > Mouse. The mouse pointer speed slider and the Enhance pointer precision toggle live on the same page.
- 2Turn off Enhance pointer precisionSwitch the toggle off. If you do not see it, scroll to Related settings, open Additional mouse settings, go to the Pointer Options tab, clear the Enhance pointer precision box under Motion and click OK.
- 3Leave pointer speed in the middleKeep the pointer speed slider at the middle (default). If the cursor feels too slow or fast, change mouse DPI instead. Tuning speed with this slider pulls your desktop and raw input games apart again.
- 4On Windows 10Go to Start > Settings > Devices > Mouse, open Additional mouse options under Related settings, clear the box under Motion on the Pointer Options tab and click OK. The speed slider is on the same tab.
Game Settings: Check That the Game Reads Raw Input
| Game | Windows acceleration and aim | What to check in game |
|---|---|---|
| VALORANT | Raw input since launch, so aim is unaffected; only the menu cursor is | Raw Input Buffer (turn on for 8000Hz mice) |
| PUBG: BATTLEGROUNDS | Lobby cursor follows the Windows Pointer Options | In game sensitivity is set separately under ESC > Settings > Control > Mouse |
| CS2 | Check the in game mouse options | Turn off any acceleration option |
| Overwatch 2 and Apex Legends | Check the in game mouse options | Turn off any acceleration option and adjust sensitivity only |
| Browser aim trainers | Windows acceleration mixes in if the raw input request is denied | If a warning appears, turn off Windows acceleration first |
If you play PUBG, you may have noticed the lobby cursor feels oddly fast or slow while aiming in a match feels fine. That is because the lobby follows the Windows pointer options. Turning off Windows acceleration and centering the speed slider removes most of that mismatch.
For the sensitivity numbers themselves, continue with the PUBG 800 DPI sensitivity guide, and for Overwatch 2 and Apex see Overwatch 2 sensitivity settings and Apex Legends sensitivity settings. VALORANT's Raw Input Buffer is tied to polling rate, so we cover it in depth in 8000Hz polling rate settings.
Mouse Software: Turn Off Mouse Side Acceleration and Angle Snapping
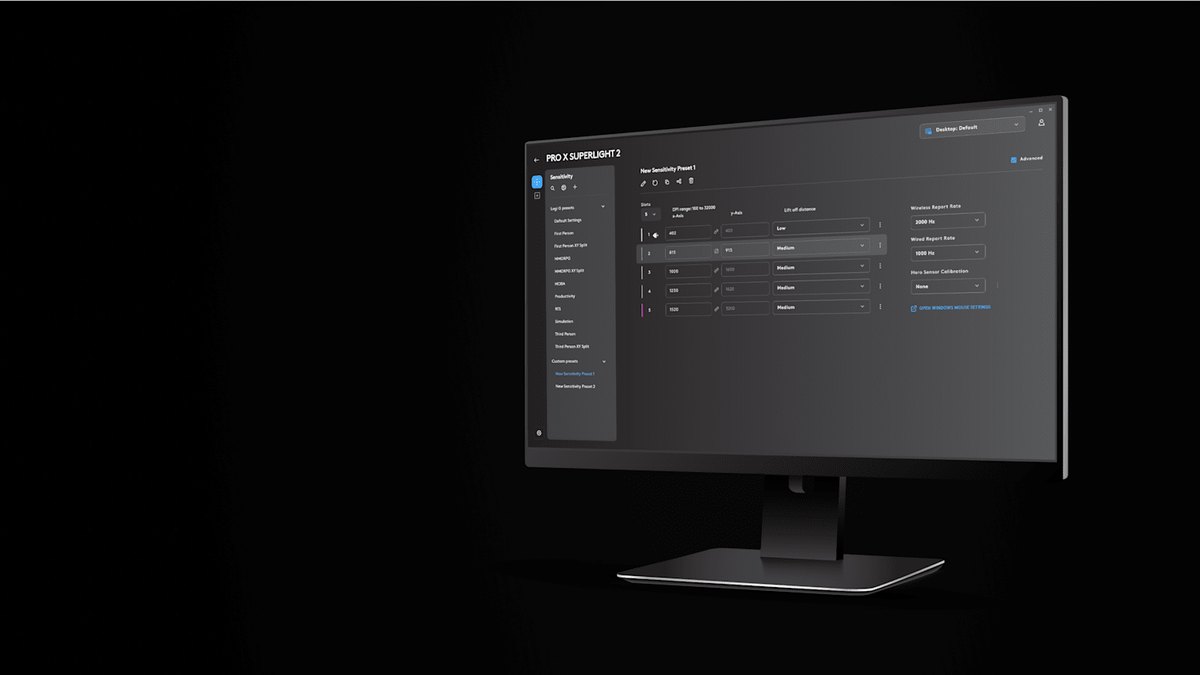
With Windows sorted, move on to your mouse software. In Logitech G HUB, pick your mouse and open the sensitivity screen: each DPI slot gets its own X axis DPI, Y axis DPI and lift off distance.
On the right you will find report rate (polling rate), Hero Sensor Calibration and a link that opens the Windows mouse settings. The preset list on the left includes options like First Person and Third Person, so create a dedicated FPS preset and name it to avoid mixups.
Keep X and Y DPI identical unless you have a specific reason not to, because mismatched axes change the ratio of diagonal movement and throw off your feel.
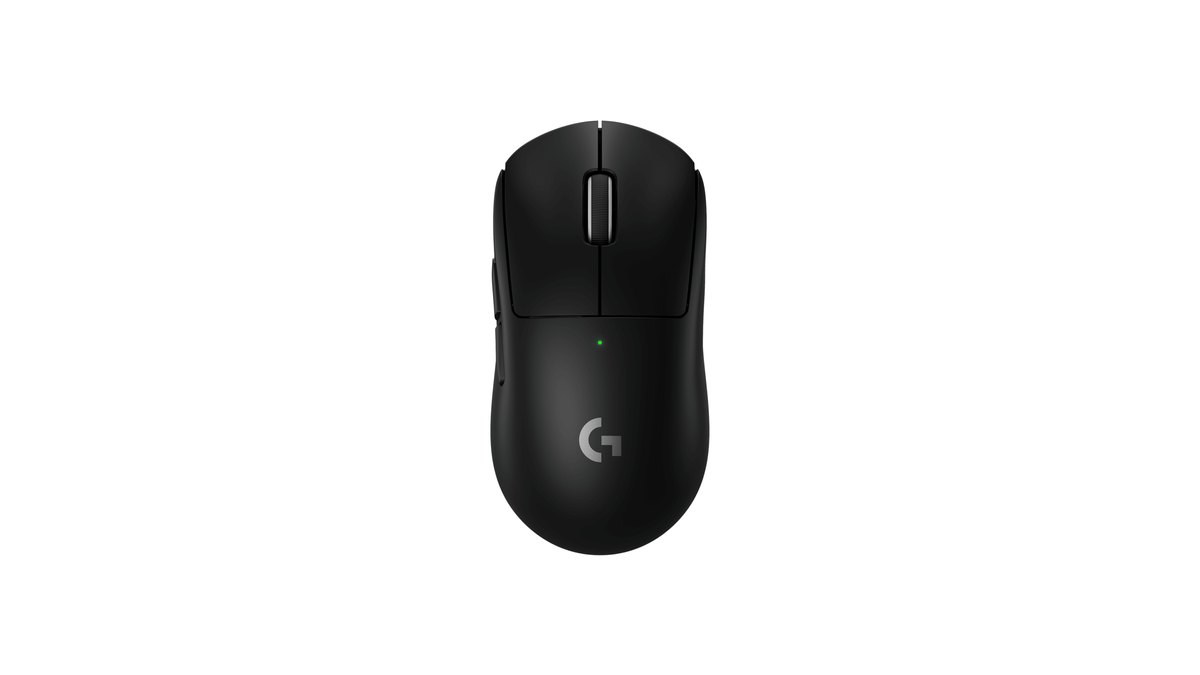
Logitech lists zero smoothing, acceleration and filtering in the official PRO X SUPERLIGHT 2 specs, so there is no mouse side acceleration to disable. Razer mice have one more thing to check.
Razer Dynamic Sensitivity switches from a lower to a higher sensitivity based on hand speed and a curve, and Razer itself says its Classic curve behaves similarly to Windows mouse acceleration. In practice, that is acceleration on the mouse side.
Support varies by model, so if Synapse shows the option and it is enabled, turn it off. The Razer Rotation Tool sounds related but is a different feature.
It rotates the sensor output angle to level out swipes that tilt because you hold the mouse at an angle, so it is neither acceleration nor angle snapping. It is worth a look if your left and right swipes drift upward.
Angle Snapping: Should It Be On or Off
Angle snapping is generally described as a feature that straightens nearly horizontal or vertical movements into clean lines. That is nice for drawing in Paint, but in a shooter it often makes small diagonal corrections, such as nudging up to head height while tracking, feel stiff.
Off is the common baseline for FPS. Not every mouse app includes it, so the rule is simple: if your software shows Angle Snapping or a similar straight line correction option, turn it off. It is worth checking if you are gaming on an older or office mouse.
Lift Off Distance (LOD): Why Your Aim Jumps When You Reposition
Lift off distance (LOD) is the height at which the sensor stops tracking when you lift the mouse off the pad. Low sens players lift and reposition constantly during big turns.
If LOD is high, the sensor keeps reading the surface while the mouse is in the air, which often tilts your view up or down or makes your crosshair jump when you set the mouse back down. If it is too low, tracking can drop on thick, soft pads or near the edge.
That is why there is no universal LOD number; it is a value you match to your pad. Many gaming mice let you change it in their companion software, so check the menu first.
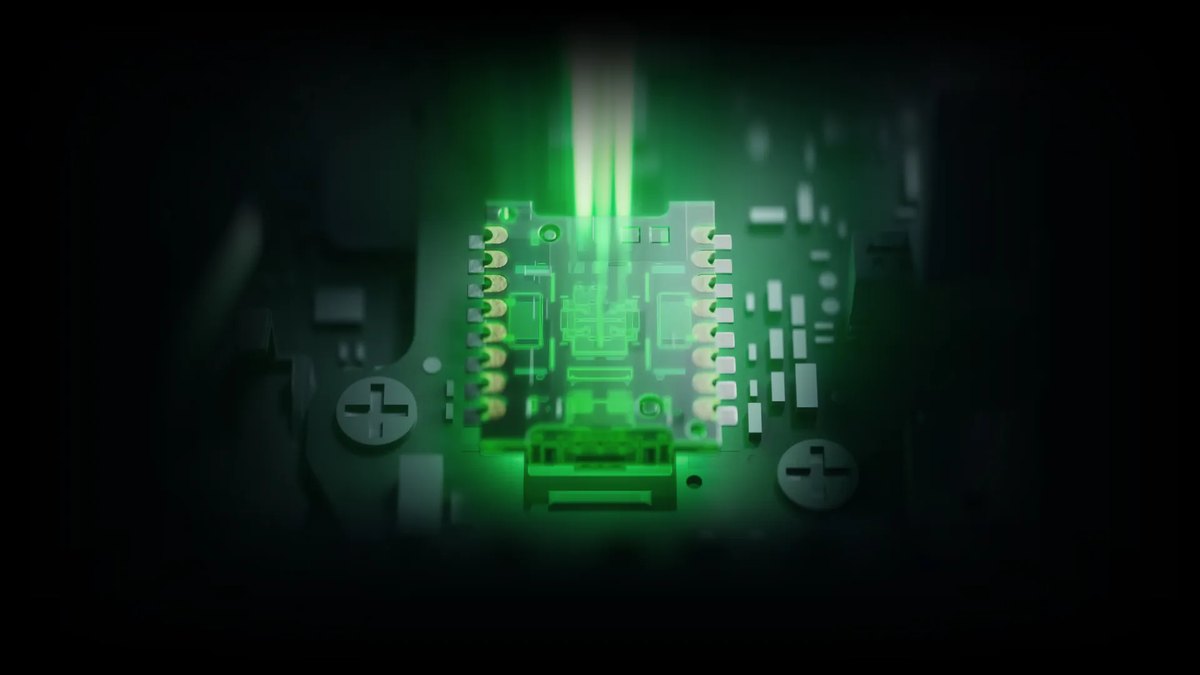
The Focus Pro 50K Gen-3 sensor in the Razer Viper V4 Pro supports Asymmetric Cut-off. You set the distance where tracking stops on lift and where it resumes on landing separately, with up to 26 levels each, up from 3 levels on the previous generation.
That lets you match your habits, for example a low lift value with a slightly more forgiving landing value. Smart Tracking automatically keeps lift off distance consistent across different surfaces and comes in Low, Med and High levels.
Razer's official screenshots show CUSTOMIZE, PERFORMANCE, LIGHTING, POWER and CALIBRATION tabs at the top of the Synapse 4 mouse screen, so while submenus can differ by model, start with the CALIBRATION tab for surface related settings.
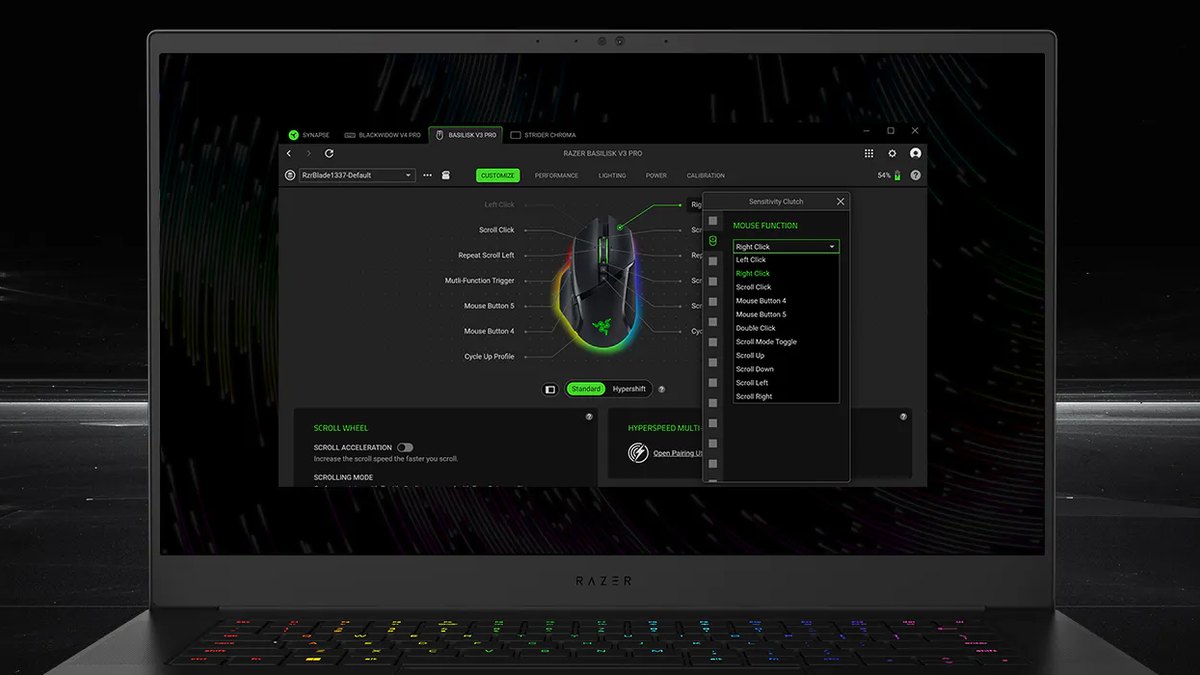
On Logitech mice, G HUB lets you pick a lift off distance per slot and the Hero Sensor Calibration field sits on the same screen, so check it as well. Other brands offer similar controls with different ranges.
The Endgame Gear OP1 8k v2 goes from 0.7 to 1.7 mm in 0.1 mm steps, the Pulsar X3 CrazyLight offers 2 mm, 1 mm and 0.7 mm, and the VXE Dragonfly R1 series offers 1 mm or 2 mm depending on the sensor. Whether your app says Low and Medium or lists millimeters, the process is the same.
- 1Start at the lowest valueSet lift off distance to the lowest option in your mouse software, and if there is a surface calibration feature, calibrate it on the pad you actually use.
- 2Lift and reposition a few timesLift the mouse slightly, move it sideways and set it down several times. If the cursor or view stays still while the mouse is in the air, you pass.
- 3Raise one step only if tracking dropsIf the cursor stutters during normal movement or cuts out near the pad edge, raise LOD by one step and test again.
- 4Redo it when you change padsA new pad or a different speed version can make the same value behave differently, so start over from the lowest setting.
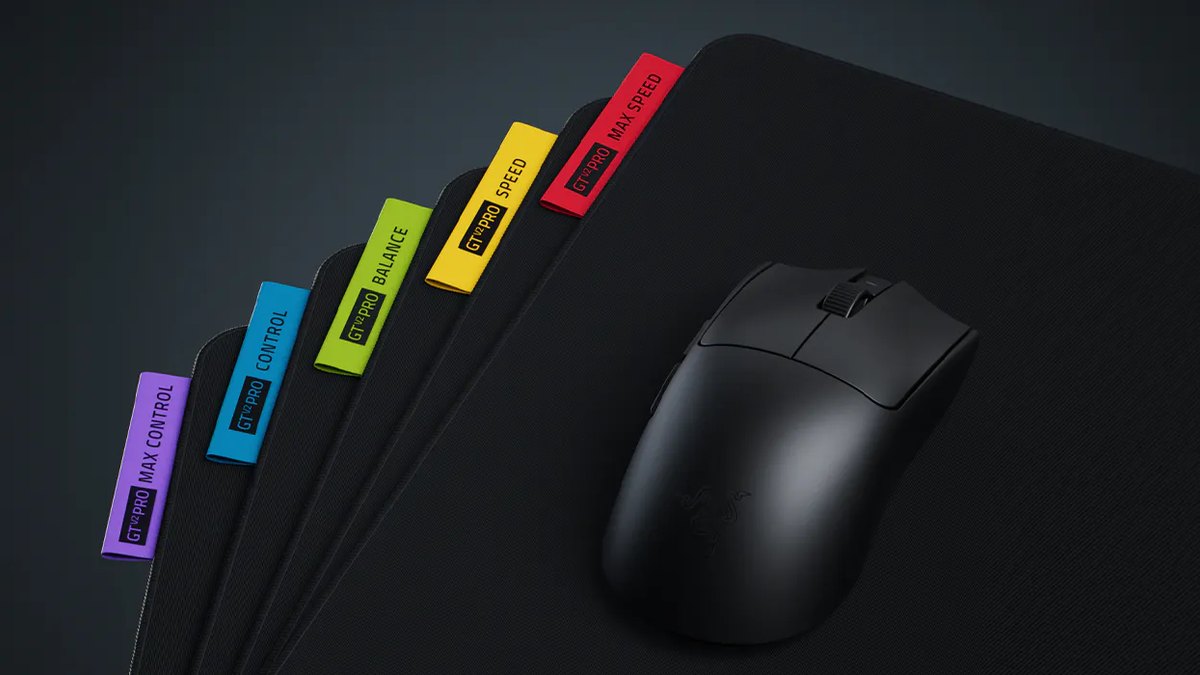
This is why LOD needs a second look whenever you switch pads. The Razer Gigantus V2 Pro comes in five speed versions from Max Control to Max Speed, and the foam firmness differs between them. Thickness is 4 mm.
Even within one brand, a different version changes the cushioning and glide, so recheck calibration and LOD. If you are still choosing a pad, read Artisan Zero vs Gigantus V2 Pro and the gaming mouse pad buying guide for the differences in material and friction.
Lock DPI to One Value
The last item is locking DPI. On the Razer Viper V4 Pro, a short press of the bottom button cycles DPI stages, and the factory stages are 400, 800, 1600 (default), 3200 and 6400. If that button gets pressed without you noticing, your whole sensitivity changes, and it is easy to blame your aim instead.
In Synapse, keep a single stage or set every stage to the same value, then save it to the onboard profile so it follows the mouse to other PCs. In G HUB, do the same with your slots.
If you are not sure what DPI you are on right now, start with how to check your mouse DPI, and use the DPI ranges in PUBG pro sensitivity explained as a baseline for choosing one.
5 Common Mistakes
- Tuning sensitivity with the Windows pointer speed slider: raw input games ignore it, so your desktop and game drift apart.
- Turning off Enhance pointer precision but leaving acceleration on in mouse software: a curve like Dynamic Sensitivity still accelerates.
- Forcing LOD to the absolute minimum: if your pad drops tracking at that height, you lose more than you gain. Raise it one step.
- Switching pads without redoing LOD and surface calibration: a new surface can make the same values behave differently.
- Blaming your aim after an accidental DPI button press: identical stages mean a stray press changes nothing.
How to Confirm Everything Is Set Correctly
- 1Compare a slow and a fast swipe on the desktopPick two points on your pad and move between them once very slowly and once quickly. With acceleration off, the cursor should land in roughly the same spot.
- 2Check for a browser aim trainer warningMake sure the web aim trainer does not show a raw input warning. If it does, Windows acceleration is mixing in, so go back over the Windows settings above.
- 3Record the same practice before and afterRecord one match in the same mode before and after the change, then compare your flicks and repositioning moments side by side.
With the foundation fixed, it is time to dial in the number. Run a one minute test with the VALORANT sensitivity test or the CS2 sensitivity test to check your cm/360. A sensitivity you find with stable acceleration and DPI settings holds up much longer from match to match.
Prices (as of November 10, 2026)
| Product | Launch price (MSRP) | Street price range |
|---|---|---|
| Logitech PRO X SUPERLIGHT 2 | $159.99 | About $139.99 to $159.99 |
| Razer Viper V4 Pro | $159.99 | About $159.39 to $159.99 |
| Razer Gigantus V2 Pro (Large) | $49.99 | Check the retailer |
These are US prices for the mice and mousepad that appear in this guide. You do not need new gear to fix these settings; the table is only for readers already shopping. Street prices leave out coupon and membership deals. Prices move often with sales and stock, so check the retailer before you buy.
Prices (as of November 10, 2026)
| Product | Launch price (MSRP) | Street price range |
|---|---|---|
| Logitech PRO X SUPERLIGHT 2 | $159.99 | About $139.99 to $159.99 |
| Razer Viper V4 Pro | $159.99 | About $159.39 to $159.99 |
| Razer Gigantus V2 Pro (Large) | $49.99 | Check the retailer |
These are US prices for the mouse and pads that appear in this guide. You do not need new gear to fix these settings; the table is only for readers already shopping. Street prices leave out coupon and membership deals. Prices move often with sales and stock, so check the retailer before you buy.
Record Before and After to See the Difference
Footage tells you more than feel when you are judging a settings change. Record a deathmatch or a regular match before the change and another in the same mode afterward, then watch them side by side.
DOR is a free Windows app that detects supported games when you launch them, records the full match and collects every recording in My Clips.
In VALORANT, kills are also saved as automatic highlight clips with ace and clutch tags, so you can jump straight to the flicks and repositioning moments from before and after. Trim the parts you want in the app, then join the two videos in DOR Studio to see the difference back to back.
For browser aim trainers and other non game windows, use screen recording (default hotkey F7). The full workflow is in before and after gear recordings, and if you are ready for a new mouse altogether, start with the gaming mouse buying guide.